How to create an Angular application
January 30, 2024About 2 min
How to create an Angular application
Versions
- This course is built on the following versions:
Angular:18.1.0Angular CLI:18.1.3Node.js:20.16.0npm client:10.8.2
- You can find these versions in the
enginespart of theAngular CLIpackage.json
Prerequisites
- Working with the Angular framework requires some prior knowledge:
TypeScript/JavaScriptHTMLCSS
TypeScript
- You will be writing TypeScript when developing your
Angularapp TypeScriptextendsJavaScriptby adding types- In the end,
TypeScripttranscompiles toJavaScript - Knowledge of
TypeScriptis helpful, but not required. You'll learn it on the go!
Node.js & npm client
- Download and install from the Node.js website
Node.js>=20.16.0npm clientis installed withNode.jsby default
Version check
- Check your versions with the following commands:
node -v
npm -v
Angular CLI
- We use the
Angular CLIto- create projects
- generate code
- perform handy development tasks (testing, bundling, deployment)
- To install the
Angular CLI, open a terminal window and run the following command:
npm install -g @angular/cli@18.1.0
- This command installs the @angular/cli npm package globally (
-g) on your system
@angular/cli@18.1.0
- This course is built on version
18.1.0of theAngular CLI - The
@character allows us to install a specific version of a npm package
npm install -g
- Globally means that you can use the installed npm package on any folder on your device (for the
Angular CLIthis is about executing commands to enhance the development process) - You can limit the scope of an npm package by removing the
-gparameter, so you install the package into a specific folder (and subfolders)
IDE
Visual Studio Code
- In this course we will work (as recommended by the Angular team) with Visual Studio Code as editor for our Angular applications
- Download Visual Studio Code (VS Code)
Others
- Other possible IDEs: IntelliJ IDEA, WebStorm, ...
Our first app
- Thanks to the
Angular CLIwe can create a working Angular application with one single command:ng new [app name] - Let's create an Angular application for our news company
- Navigate to a folder where you want to store your Angular application code and execute the following command:
ng new my-news
PowerShell on Windows
- If you are using PowerShell on Windows, you may have to enable script execution with the
Set-ExecutionPolicy RemoteSignedcommand before you can run theng newcommand
Error npm install
- You could get an error during/after the npm install (that is performed by the
ng newcommand) - This has something to do with a wrong node installation.
- You can easily switch between node versions using nvm (windows installer!)
nvm use 20.16.0will for example switch the node version to 20.16.0
- The initial creation will ask you some questions. Answer them as described below:
- Which stylesheet format would you like to use? (Use arrow keys)
- Choose
CSS
- Choose
- Do you want to enable Server-Side Rendering (SSR) and Static Site Generation (SSG/Prerendering)?
- Choose
N
- Choose
- Which stylesheet format would you like to use? (Use arrow keys)
My News application
- During the course you will hopefully learn a lot about the Angular framework
- All these techniques will be explained by integrating and using them into the My News application
- This web application will be a news app, where journalists can add articles and visitors can read them, like them, add comments...
- Navigate to the
my-newsfolder - Build and serve the application locally by executing the following command
ng serve --open
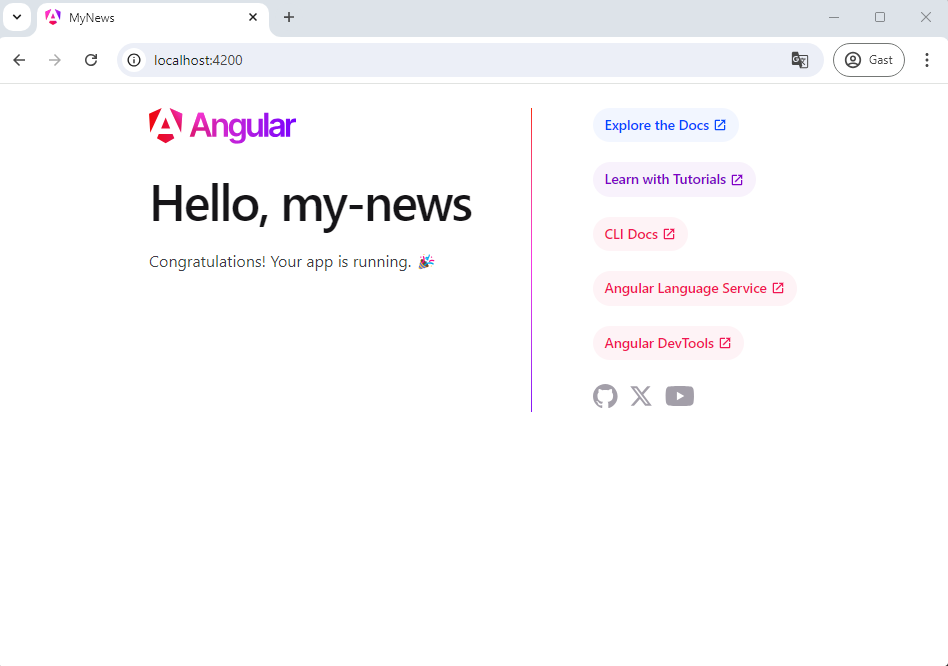
- If all went right, you should see a page similar to the following:

npm start
- In the
package.jsonyou can specify scripts, which will execute one or more commands npm startexecutesng serve- You can add multiple parameters to extend the
npm startscript:--openor-o: automatically opens the browser--port 5878: opens application on port5878
- Full implementation:
"scripts": {
    "ng": "ng",
    "start": "ng serve -o --port 5878",
    "build": "ng build",
    "watch": "ng build --watch --configuration development",
    "test": "ng test"
  },
GitHub
To track all your changes and progress, you can use your GitHub account to create a new repository. This is very handy to revert any changes, ... especially if you start working on your project!