How to navigate between components
About 3 min
How to navigate between components
- Almost any web application needs navigation
- SPA's navigation = routing to a component and show it on the web page
- For our news app we will create a
MenuComponentfor our navigation links- The menu will contain 2 links:
- home = home page
- article = article page
- The menu will contain 2 links:
Home component
- Create the
HomeComponentby executing the following command in thesrc/appfolder:
ng g c home-component
- Remove the dummy paragraph and add the following
HTMLto thehome-component.htmlfile:
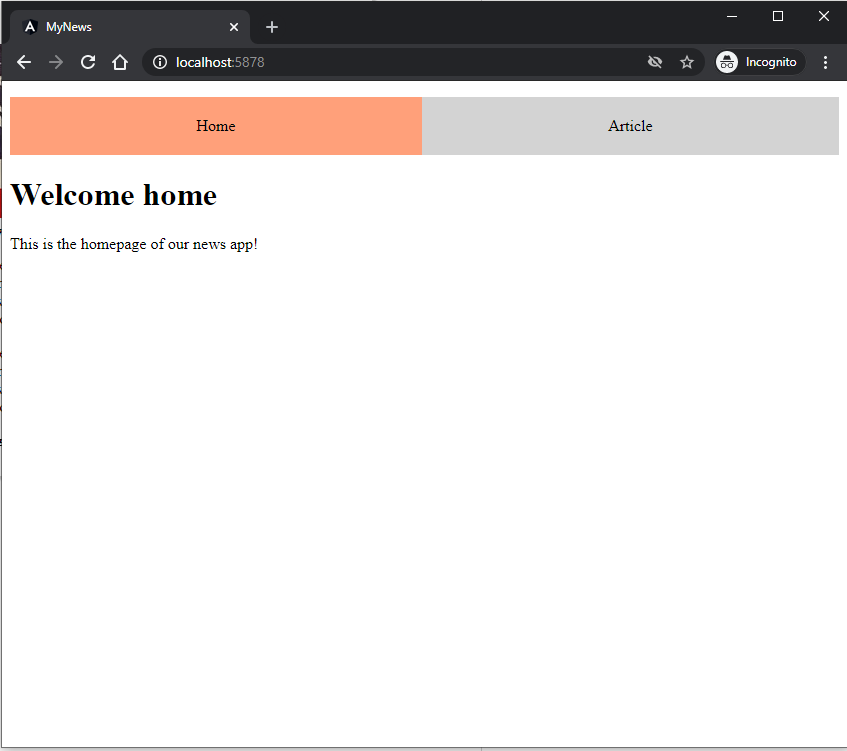
<h1>Welcome home</h1>
<p>This is the homepage of our news app!</p>
Menu component
- Create the
MenuComponentby executing the following command in thesrc/appfolder:
ng g c menu-component
- Remove the dummy paragraph and add the following
HTMLto themenu-component.htmlfile:
<nav>
  <ul>
    <li><a href="#">Home</a></li>
    <li><a href="#">Article</a></li>
  </ul>
</nav>
Routing
- To define how users navigate through your application, you use
routes - Angular has an easy to use built-in routing system
app.routes.ts
- When we created our application we already get a
app.routes.tsfile - This file is by default used to specify the routes in our application
- Let's add two routes to the
routesarray:
import { Routes } from '@angular/router';
import { ArticleComponent } from './article-component/article-component';
import { HomeComponent } from './home-component/home-component';

export const routes: Routes = [
    { path: '', component: HomeComponent },
    { path: 'article', component: ArticleComponent },
];
Routes
- We've created 2
routes-path: ''= root/default route which starts/initializes/opens theHomeComponent-path: 'article'opens theArticleComponentwhen visitinghttp://localhost:5878/article
- The routes configured in the
app.routesare provided to your application through theapp.config.ts:
import { ApplicationConfig, provideBrowserGlobalErrorListeners, provideZonelessChangeDetection } from '@angular/core';
import { provideRouter } from '@angular/router';

import { routes } from './app.routes';

export const appConfig: ApplicationConfig = {
  providers: [
    provideBrowserGlobalErrorListeners(),
    provideZonelessChangeDetection(),
    provideRouter(routes)
  ]
};
<router-outlet></router-outlet>
- Somewhere in a
componentyou need to preserve some space for thecomponentsyou navigate to - The perfect place for this is the
app.html, so modify theHTML:
<app-menu-component></app-menu-component>

<router-outlet></router-outlet>
- The
MenuComponentmust be added to theimportsarray in theAppComponent, because we use it directly in ourapp.html - The
HomeComponentandArticleComponentdon't have to be imported, because we will navigate to them throughrouting!
//app.ts
import { Component, signal } from '@angular/core';
import { RouterOutlet } from '@angular/router';
import { MenuComponent } from "./menu-component/menu-component";

@Component({
  selector: 'app-root',
  imports: [RouterOutlet, MenuComponent],
  templateUrl: './app.html',
  styleUrl: './app.css'
})
export class App {
  protected readonly title = signal('my-news');
}
MenuComponent & router-outlet
app-menu-component=MenuComponent: this shows our navigation menurouter-outlet= placeholder forcomponentsyou navigate to via routing- calling the
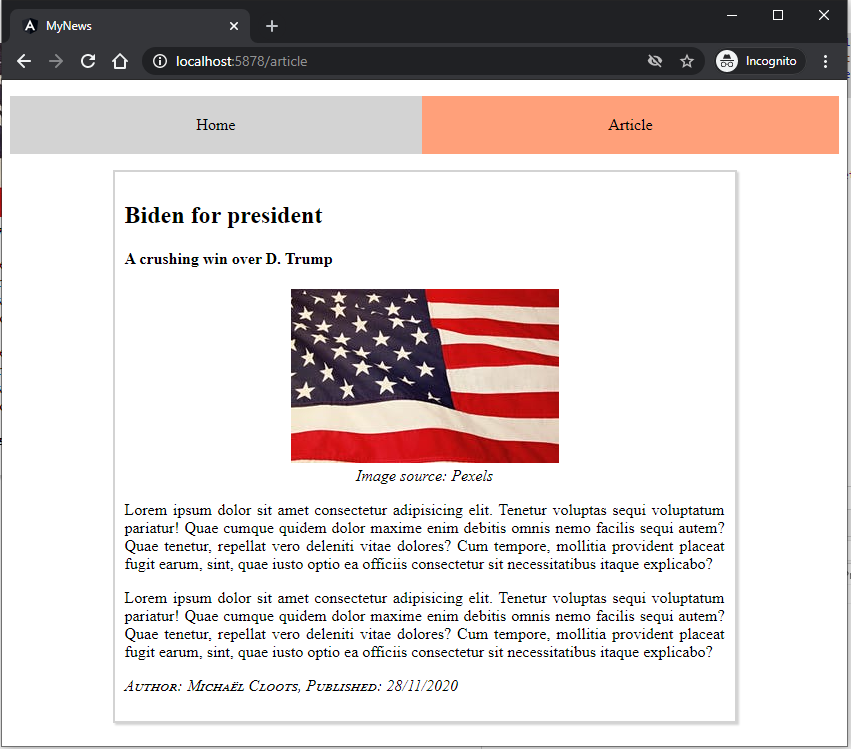
articleroute will load theArticleComponentin therouter-outletdirective
- calling the
- When we start our app (
http://localhost:5878/) theHomeComponentis loaded (path: '')
- Let's finish our navigation links in the
menu-component.html:
<nav>
    <ul>
        <li><a routerLink="/" routerLinkActive="active" [routerLinkActiveOptions]="{ exact: true }">Home</a></li>
        <li><a routerLink="/article" routerLinkActive="active" [routerLinkActiveOptions]="{ exact: true }">Article</a></li>
    </ul>
</nav>
| code | description |
|---|---|
routerLink="/" | path we defined in the routes-array in the AppRoutingModule |
routerLinkActive="active" | Toggles CSS classes for the active link (in this case the active class). |
[routerLinkActiveOptions]="{ exact: true }" | By default, the default route will always be the active route, because Angular only checks if the URL contains the route path. In case of the default route ('/') this always is true. To fix this we add the [routerLinkActiveOptions]="{ exact: true }" directive to every a tag |
Can't bind to 'routerLinkActiveOptions'
- This error means that our
MenuComponenthas to little information to set up the routing - We have to import the
RouterModuleto be able to make use of all theRoutingfunctionalities! menu.component.ts:
import { Component } from '@angular/core';
import { RouterModule } from '@angular/router';

@Component({
  selector: 'app-menu-component',
  imports: [RouterModule],
  templateUrl: './menu-component.html',
  styleUrl: './menu-component.css'
})
export class MenuComponent {

}
- Finally add some
CSSinmenu.component.cssto prettify our menu:
nav ul {
    display: flex;
    list-style-type: none;
    padding: 0px;
}

nav li {
    flex: 1 1 auto;
    display: flex;
}

nav a {
    flex: 1 1 auto;
    text-decoration: none;
    text-align: center;
    padding: 20px;
    background-color: lightgrey;
    color: black;
}

nav a.active {
    background-color: lightsalmon;
    color: black;
}

nav a:hover {
    color: lightgrey;
    background-color: grey;
}
- When the link is active, Angular will add the
activeclass to this link (because we specified it) - Therefore we apply some styling for an active link
Result:
No page refresh
- Notice how the page is not fully reloaded/refreshed!
- There is no interaction with a server to get a page/component
- Angular has a built-in Change Detection system which updates the current view with the new component
Exercise
Take a backup of the current state of your application (or create a new branch)
- Add a third "tab" named "contact" at the top of your application
- Set the correct routes and create the correct component "contact"
- Add some static content with basic details about yourself