Getting started
Getting started
Install Nx npm package
npm add --global nx@latest
Create the Nx workspace
- Open the command prompt in the folder where you want to create your monorepo
- Execute the following command and make sure to choose a good monorepo name (teamX-workspace, monorepo-teamX, ...)
- Current version:
v21.5.3
npx create-nx-workspace@latest monorepo-name
If it asks to install the create-nx-workspace version, choose y
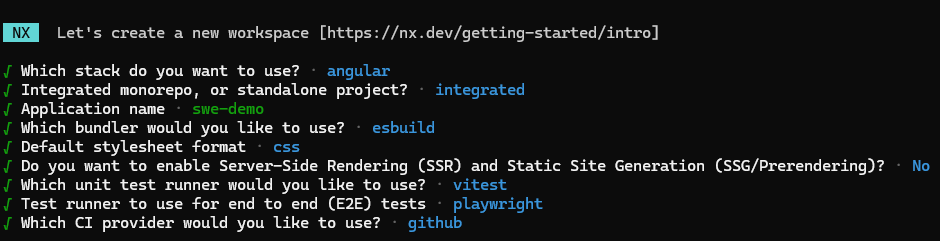
Answer the following questions
- Which stack do you want to use? --> Angular
- Integrated monorepo, or standalone project? --> Integrated
- Application name --> choose a name for the Angular application
- Which bundler would you like to use? --> esbuild
- Default stylesheet format --> CSS
- Do you want to enable Server-Side Rendering (SSR) and Static Site Generation (SSG/Prerendering)? --> No
- Which unit test runner would you like to use? --> Vitest
- Test runner to use for end to end (E2E) tests --> Playwright
- Which CI provider would you like to use? --> GitHub Actions
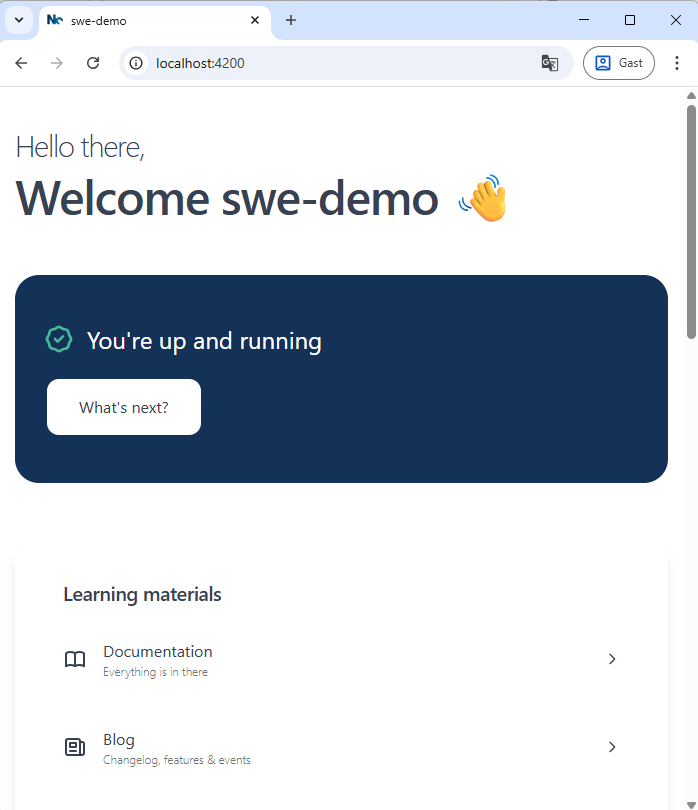
Open the folder in VS Code and get ready to rumble!
Add a new Angular application
You can add new Angular application to your workspace with the following command:
npx nx g @nx/angular:app apps/[app-name]
Make sure to select esbuild!
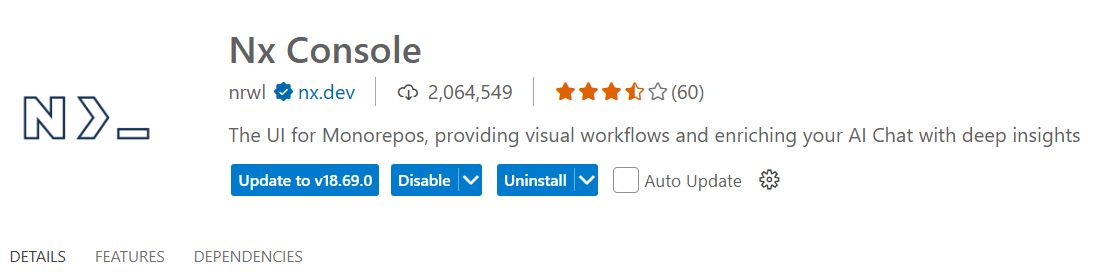
VS Code extension
Nx has a powerful plugin for VS Code: Nx Console
Find it in the Extensions window and install:
When creating our monorepo we also created two Angular applications. In the Projects tab of the Nx Console extension we can see a list of all the projects:
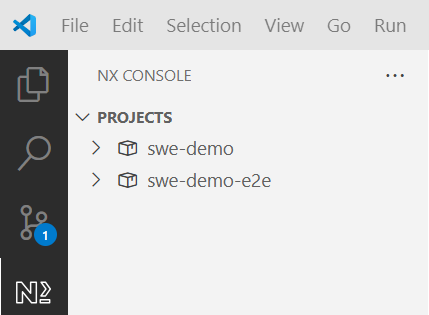
nx console projects Find the Angular project (not the e2e) and serve the application
- You can also run a project through the Nx CLI:
npx nx run swe-demo:serveswe-demo= projectserve= target
Architecture
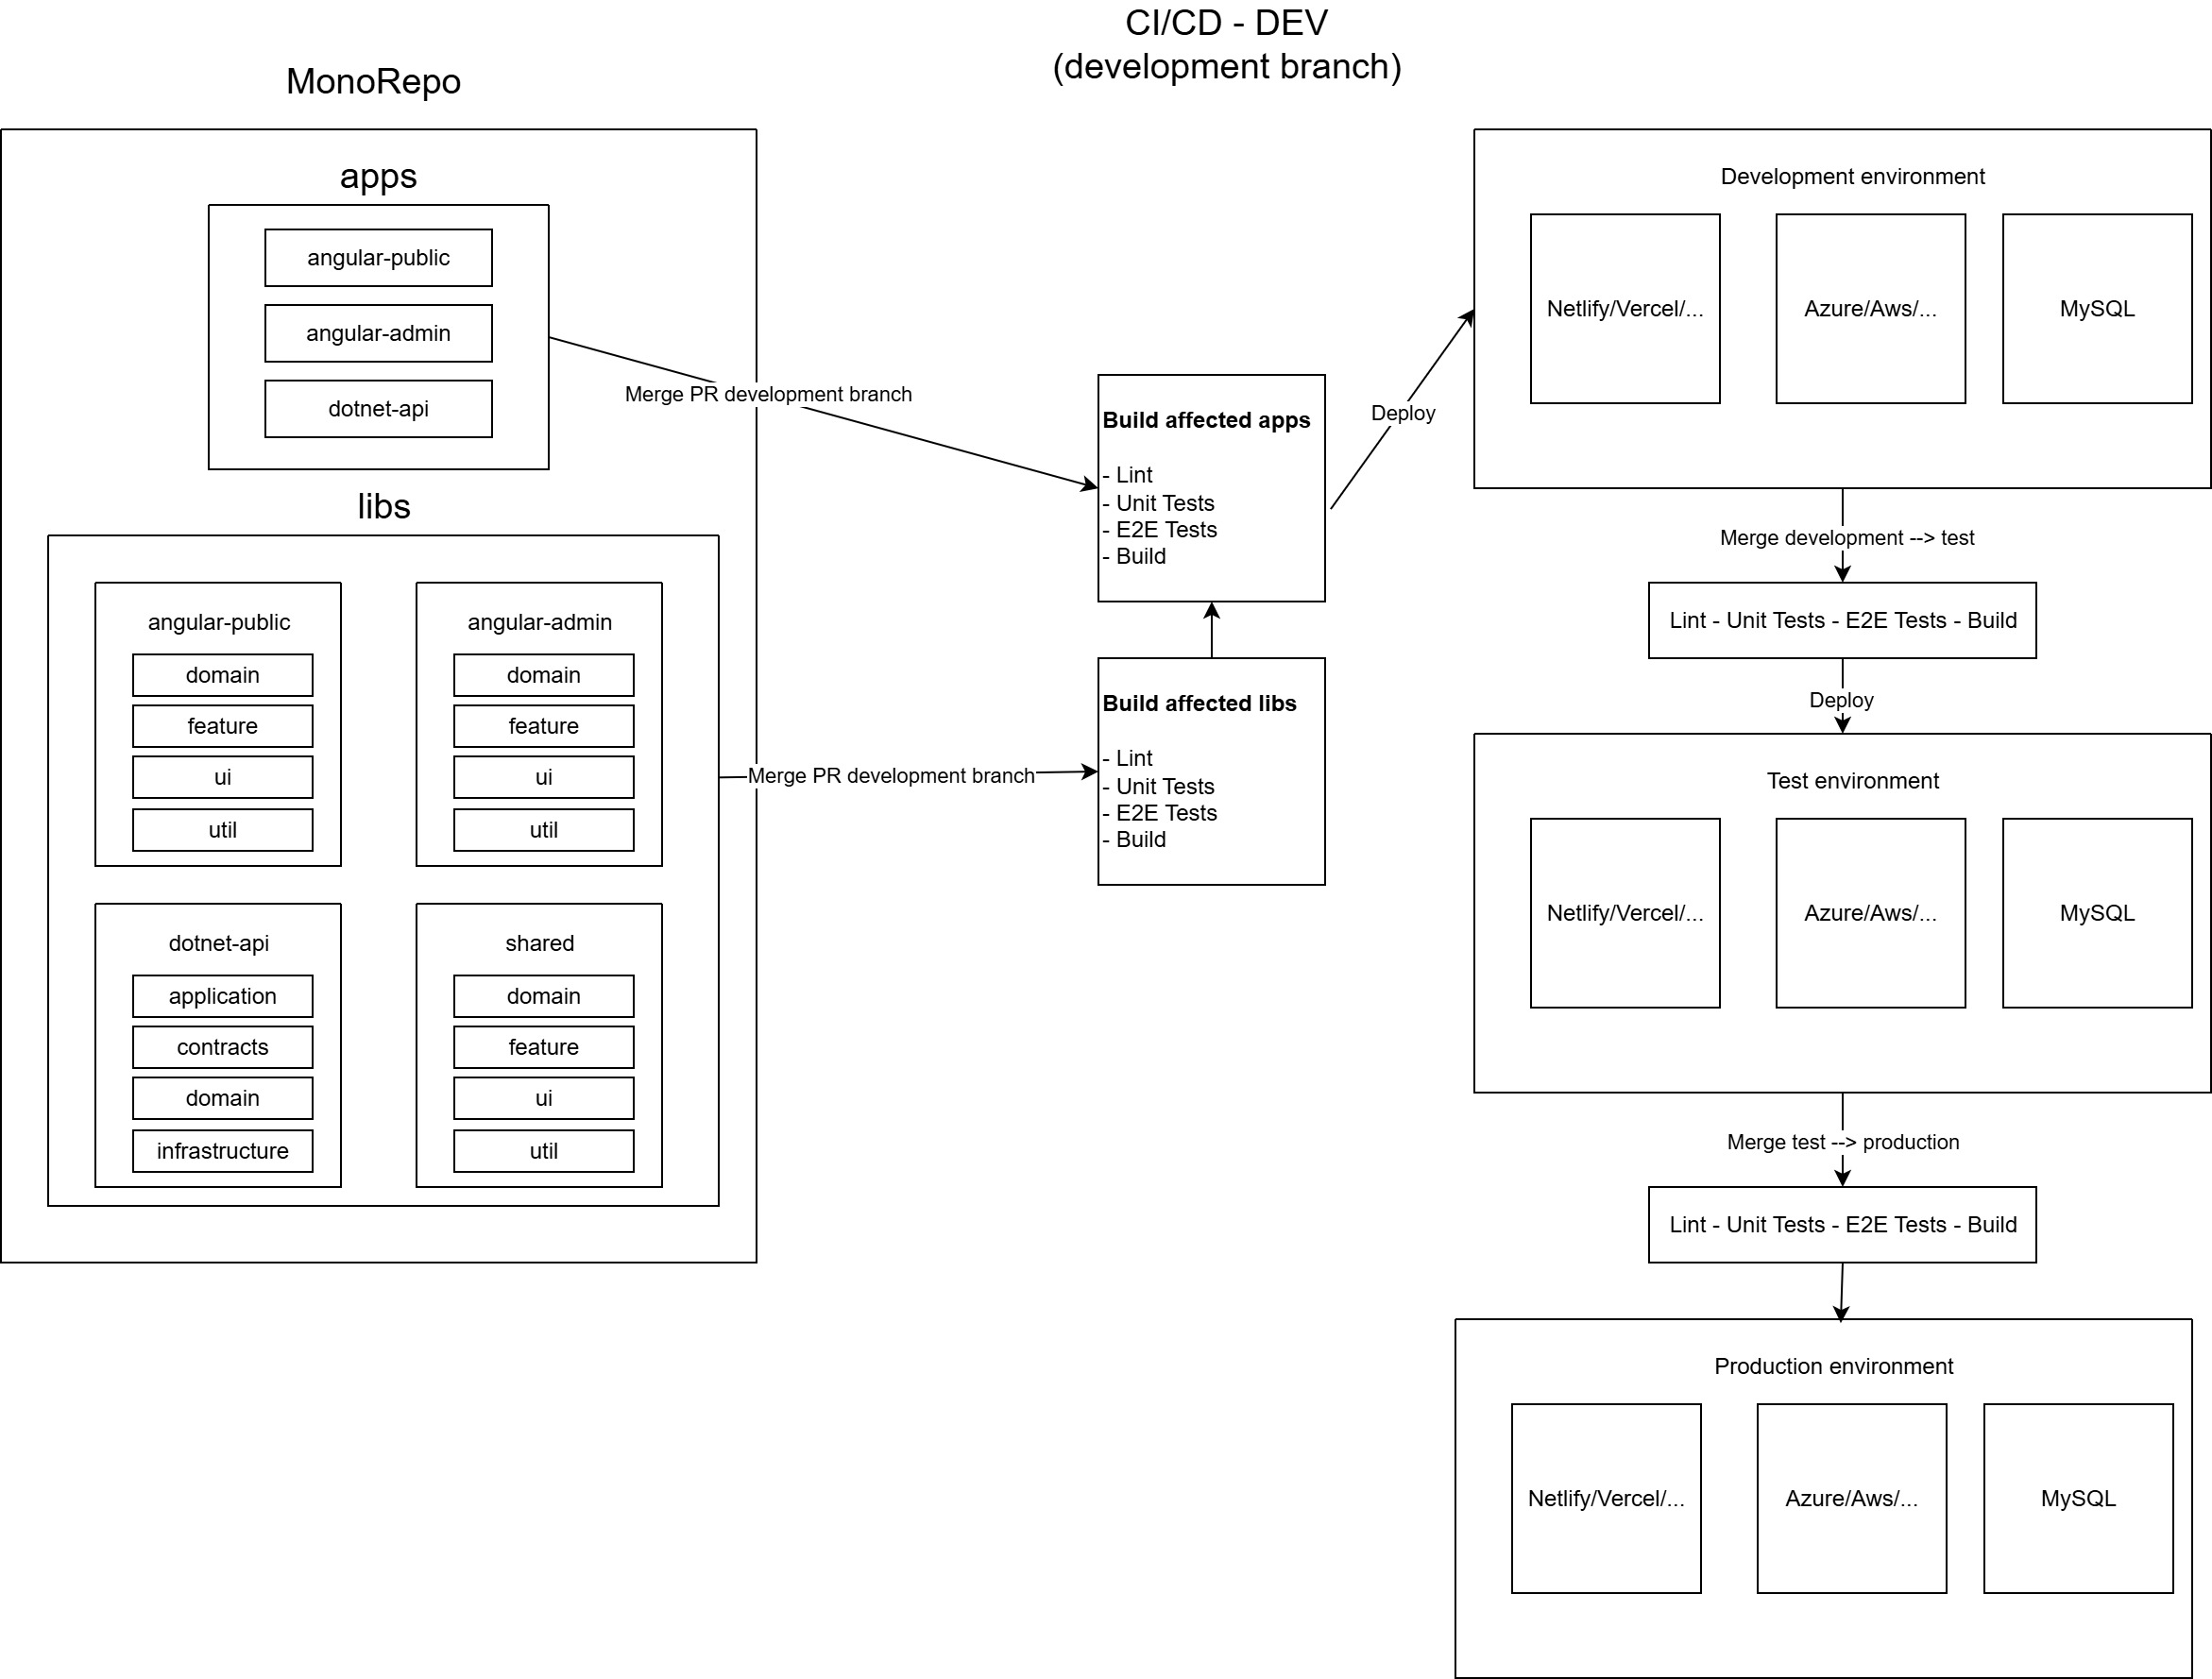
In our Nx monorepo architecture, we'll divide all our projects into apps and libs to promote modularity, scalability, and maintainability.
- Apps serve as entry points — they define how the application is built, configured, and deployed.
- Libs contain reusable, isolated functionality such as UI components, services, or domain logic.
This separation allows for clear boundaries between features, encourages code reuse, simplifies testing, and enables teams to work independently without breaking other parts of the system. It also leverages Nx's dependency graph to enforce consistent architecture and improve build performance.
Libs
All reusable code lives in libs. Each library is independent, versioned, and testable on its own. This structure enforces clear ownership and boundaries between features.
libs/
  each-angular-app/   # Application-specific libraries
    feature/          # Smart components & feature logic
    domain/           # Data access, models, and state management
    ui/               # Presentational (dumb) components
    util/             # App-specific helper functions & services

  shared/             # Reusable across all applications
    feature/          # Common feature modules or logic
    domain/           # Shared models, interfaces, or APIs
    ui/               # Generic components (e.g., buttons, modals)
    util/             # Domain-independent helpers & utilities
Lib Layers
- Feature
- Contains smart components and logic tied to a specific feature or use case. These libraries manage user interactions, orchestrate data flow, and connect domain logic with UI components.
- Domain
- Defines the core business logic, models, and data-access (e.g., API services, repositories). This layer abstracts data sources and centralizes business rules.
- UI
- Contains presentational (dumb) components that focus purely on rendering and inputs/outputs. They are reusable, stateless, and unaware of business logic.
- Util
- Provides domain-independent helper functions, pipes, or services (e.g., date formatters, validators). These utilities can be imported freely across other libs.
The shared folder mirrors this structure but contains libraries that are used across multiple apps, ensuring consistency and avoiding duplication.
Creating the libs
In Nx we can use the following command to create Angular specific libraries:
npx nx g @nx/angular:library [1]/[2]/[3] --name [4]- [1] = folder = libs
- [2] = angular-application = swe-demo
- [3] = library folder = feature
- [4] = library name = swe-demo-feature
npx nx g @nx/angular:library libs/swe-demo/feature --name swe-demo-feature- Choose vitest as unit test runner
Remove library
- You can remove a library by using the
ng g rm [library name]command ng g rm swe-demo-feature
To create all the libs we need, we need to execute all the following commands:
- swe-demo/feature
npx nx g @nx/angular:library libs/swe-demo/feature --name swe-demo-feature
- swe-demo/domain
npx nx g @nx/angular:library libs/swe-demo/domain --name swe-demo-domain
- swe-demo/ui
npx nx g @nx/angular:library libs/swe-demo/ui --name swe-demo-ui
- swe-demo/util
npx nx g @nx/angular:library libs/swe-demo/util --name swe-demo-util
- shared/feature
npx nx g @nx/angular:library libs/shared/feature --name shared-feature
- shared/domain
npx nx g @nx/angular:library libs/shared/domain --name shared-domain
- shared/ui
npx nx g @nx/angular:library libs/shared/ui --name shared-ui
- shared/util
npx nx g @nx/angular:library libs/shared/util --name shared-util
Visualizing dependencies with Nx Graph
You can run the command
nx graph
This generates an interactive dependency graph of all your apps and libs. It's a powerful tool to:
- Get a visual overview of the project structure.
- See which apps and libraries depend on each other.
- Identify opportunities for refactoring or shared code.
